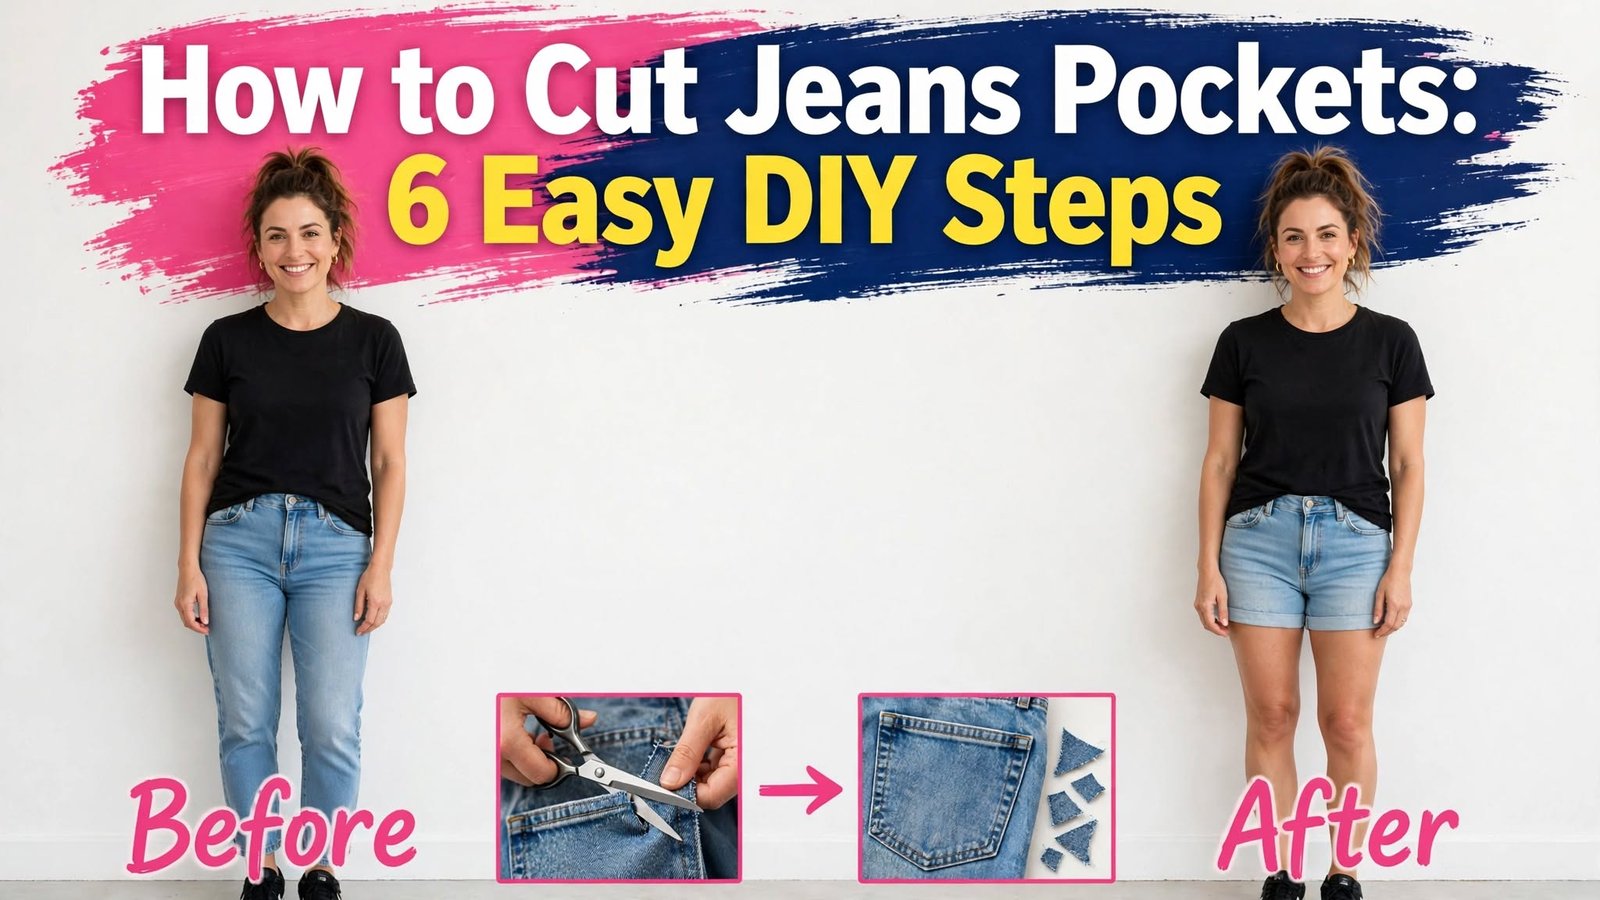
DIY Jean Pocket Trimming: 6 Easy Steps to Resize at Home
Introduction
If your old jeans are too long or too loose, you do not need to throw them away. With DIY Jean Pocket Trimming, you can resize them at home and turn them into perfect shorts in less than 30 minutes. This guide is made for beginners, so you do not need any sewing machine or special skills.
In this article, I will guide you step by step, just like your reference images. You will learn how to choose the right jeans, how to mark the cutting line, how to cut both legs evenly, how to trim the pocket edge cleanly, and how to finish the look. All you need is a pair of scissors, a ruler, chalk, and a little patience. Let us start.
Step 1: Choose the Right Jeans
Choose a pair of jeans that fits you well at the waist and hips. The length does not matter, because we are going to cut it. Avoid very stretchy jeans for your first time, because stretchy denim is harder to cut straight. A straight-leg or slim-fit pair in medium blue denim works best. Check the pockets — if the pocket is deep and clean, it will look beautiful after trimming. Wash and dry the jeans first, so the fabric does not shrink after you cut it.
Step 2: Remove the Jeans and Mark the Cutting Line
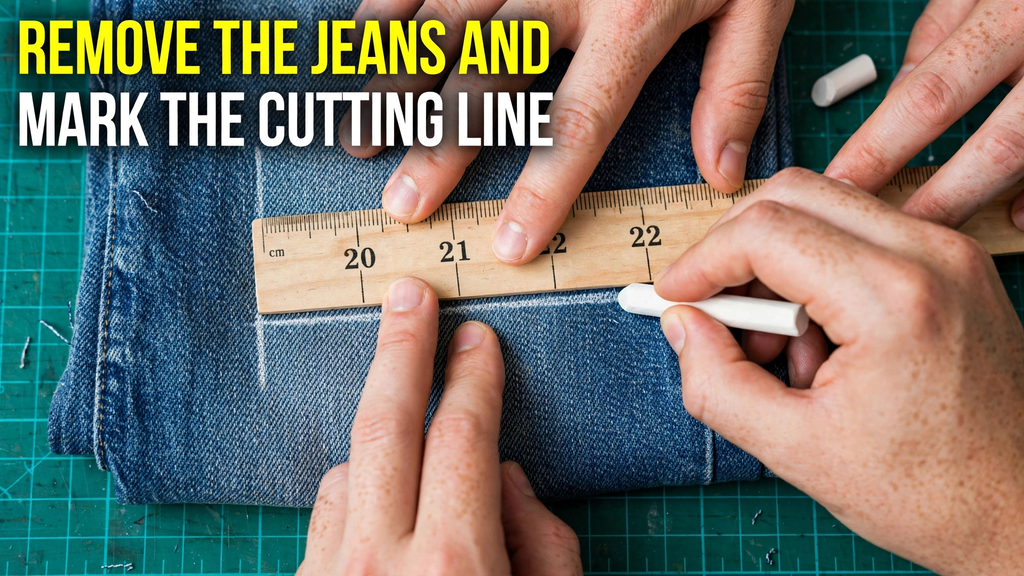
Wear the jeans and mark with chalk where you want the shorts to end. A good rule is to mark 1 inch longer than your final length, because you will need extra for trimming and fraying. Now remove the jeans and lay them flat on a table. Use a ruler to draw a straight line across the leg. Make sure the line is straight on both sides. Use pins to hold the fabric, so it does not move while you mark. Double-check the measurement before you cut — once you cut, you cannot go back.
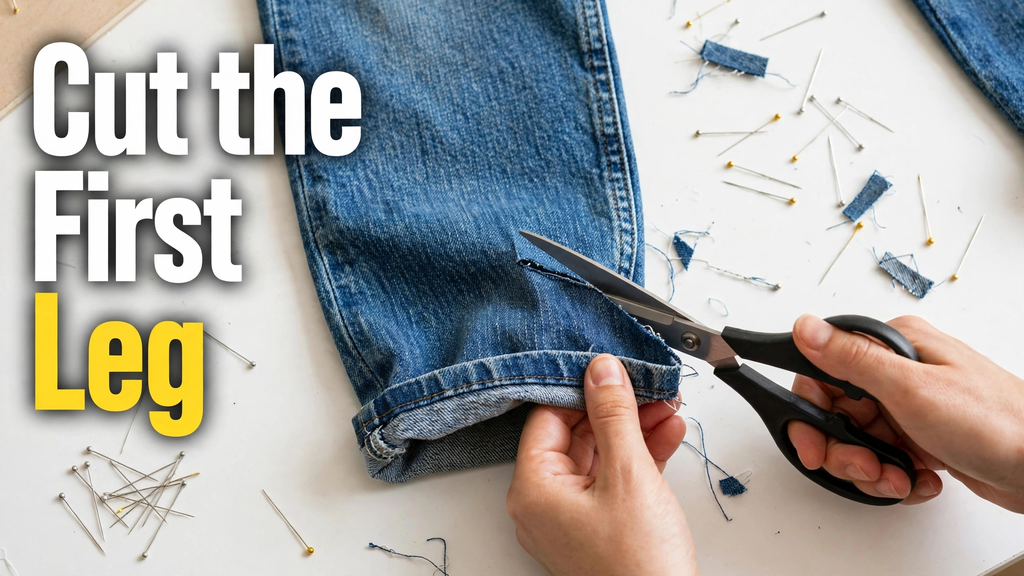
Step 3: Cut the First Leg
Now cut slowly along the chalk line on the first leg. Use long, sharp scissors and cut in one smooth motion, not in small zig-zag cuts. Small cuts make the edge uneven. Keep your hand steady and follow the line. Do not cut too close to the pocket — leave at least 1 inch below the pocket edge, so the pocket stays safe. After cutting, check the edge. If it looks uneven, trim the small extra threads with small scissors. This first leg will be your guide for the second leg.
Step 4: Match and Cut the Second Leg
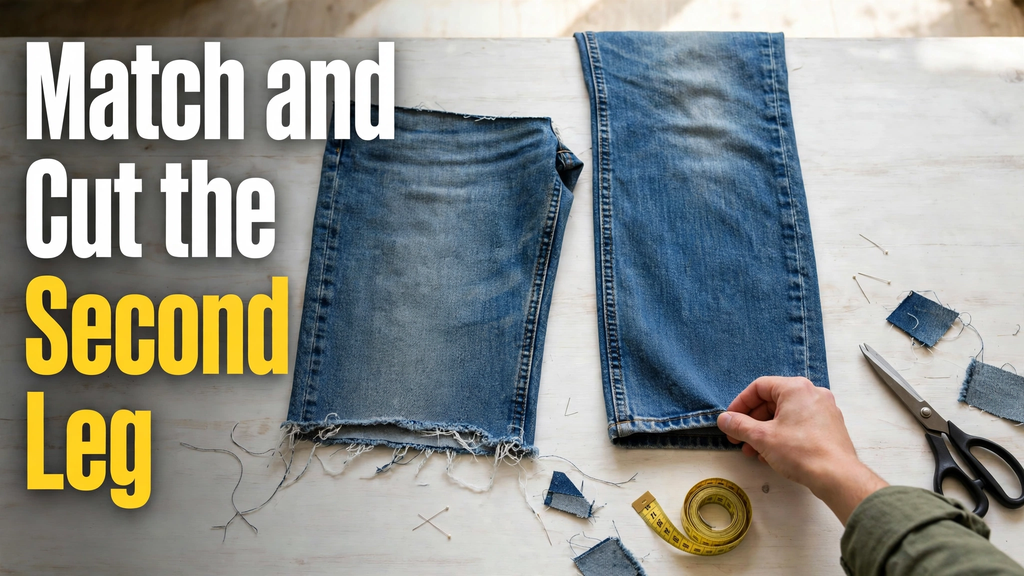
Fold the jeans so both legs are exactly on top of each other. Place the cut leg on top of the uncut leg and use it as a template. Mark the same line on the second leg with chalk. Pin both legs together so they do not shift. Now cut the second leg along the same line. Unfold and check — both legs should be the exact same length. If one side is a little longer, trim it slowly until both sides match. This step is the most important for a clean, professional look.
Step 5: Trim the Pocket Edge
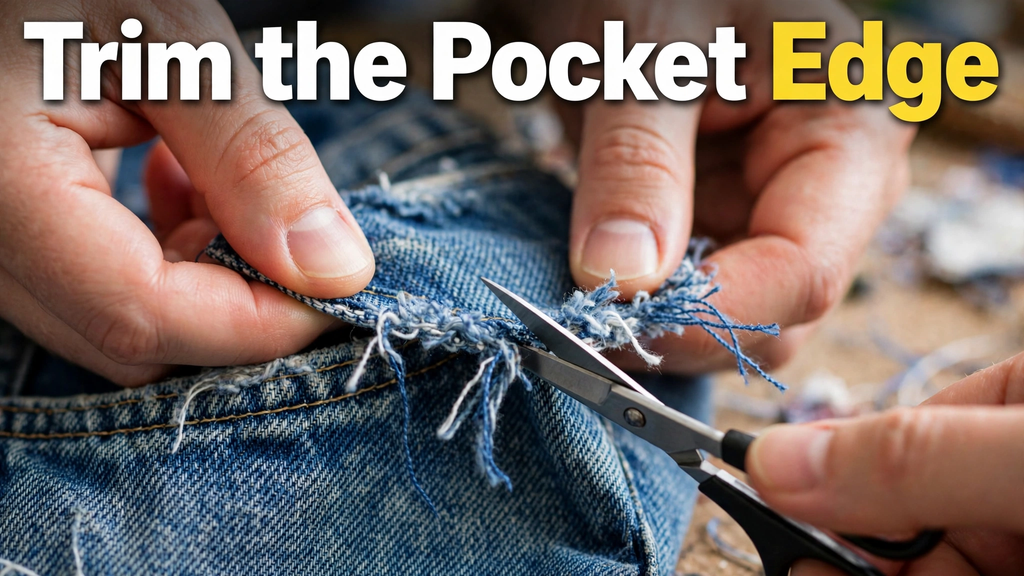
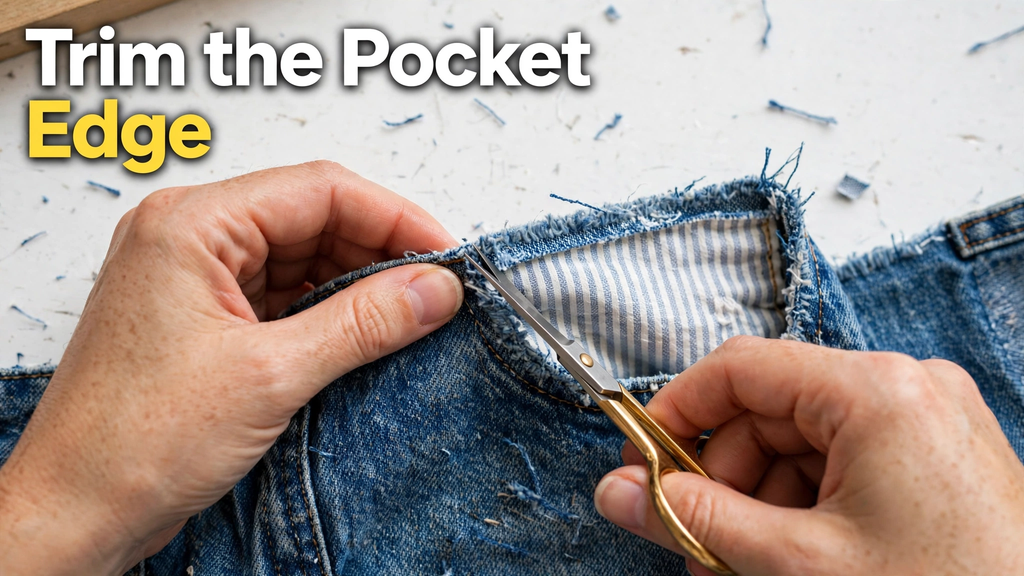
This is the main step of DIY Jean Pocket Trimming. Turn the shorts inside out and look at the pocket. If the pocket lining is peeking out below the cut edge, trim it carefully with small scissors. Cut only the extra lining, not the main pocket stitch. Then trim any loose threads around the pocket opening. If you want a clean look, fold the pocket edge inside and press it with a warm iron. If you want a frayed, casual look, leave the edge raw and pull a few threads with your fingers. Do the same for both pockets.
Step 6: Try On and Final Finish
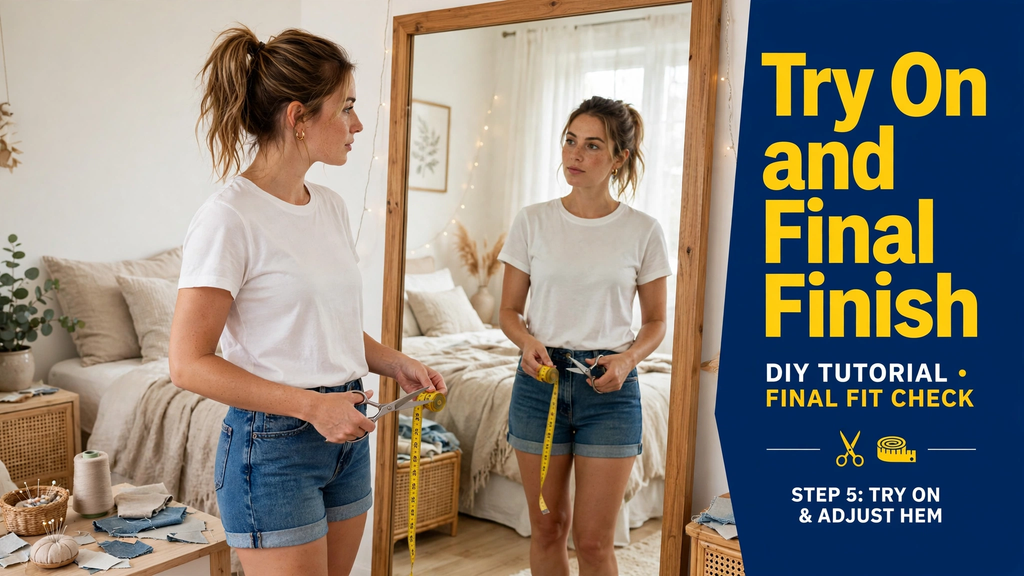
Now wear your new shorts and check the fit in a mirror. Walk, sit, and bend to see if the length feels comfortable. If the edge feels too long, trim 0.5 inch more. If you want a frayed hem, wash the shorts once in cold water and let them air dry — the edge will fray naturally. If you want a clean hem, fold the edge once and press it with an iron. Your DIY jeans are ready. Pair them with a white tee and sneakers for a fresh, casual look.
Common Mistakes to Avoid
- Do not cut without marking first. Always mark with chalk and ruler.
- Do not use dull scissors. Dull scissors make the edge rough and uneven.
- Do not cut too short in the first cut. You can always cut more, but you cannot add fabric back.
- Do not cut into the pocket stitching. Keep at least 1 inch distance from the pocket.
- Do not skip the try-on step. Always try on before final trimming.
Frequently Asked Questions
1. Can I do DIY jean pocket trimming without a sewing machine?
Yes. You do not need a sewing machine for this project. Sharp scissors, chalk, and an iron are enough. If you want a stitched hem, you can hand-stitch the edge with simple stitches.
2. How much extra length should I leave before cutting?
Leave 1 inch extra than your final length. This gives you room for trimming, fraying, and small mistakes. You can always trim more after trying on.
3. How do I keep both legs the same length?
Always use the first cut leg as a template for the second leg. Fold the jeans, pin them together, and mark the same line. Do not measure each leg separately.
4. How do I stop the pocket from showing after cutting?
Trim the pocket lining with small scissors and fold it inside. Press it with an iron. If the pocket is very long, you can trim the lining to match the new shorts length.
5. Should I wash jeans before cutting?
Yes. Wash and dry your jeans before cutting, because denim can shrink after the first wash. If you cut before washing, your shorts may become too short.
6. How do I get a perfect frayed edge?
After cutting, wash the shorts in cold water and let them air dry. Then pull loose threads with your fingers or a comb. Do not pull too hard, or the hem will become too thin.
Final Thoughts
DIY Jean Pocket Trimming is one of the easiest ways to give your old jeans a new life. You do not need expensive tools or professional skills — just a little patience and the right steps. By choosing the right jeans, marking carefully, cutting evenly, and trimming the pocket edge cleanly, you can make shorts that look like you bought them from a store.
Start with an old pair you do not mind practicing on. Once you feel confident, you can try different lengths, frayed edges, and pocket styles. Your old jeans are not waste — they are your next favorite shorts.
Which step did you find the easiest? Tell me in the comments, and share your before-and-after photo!